


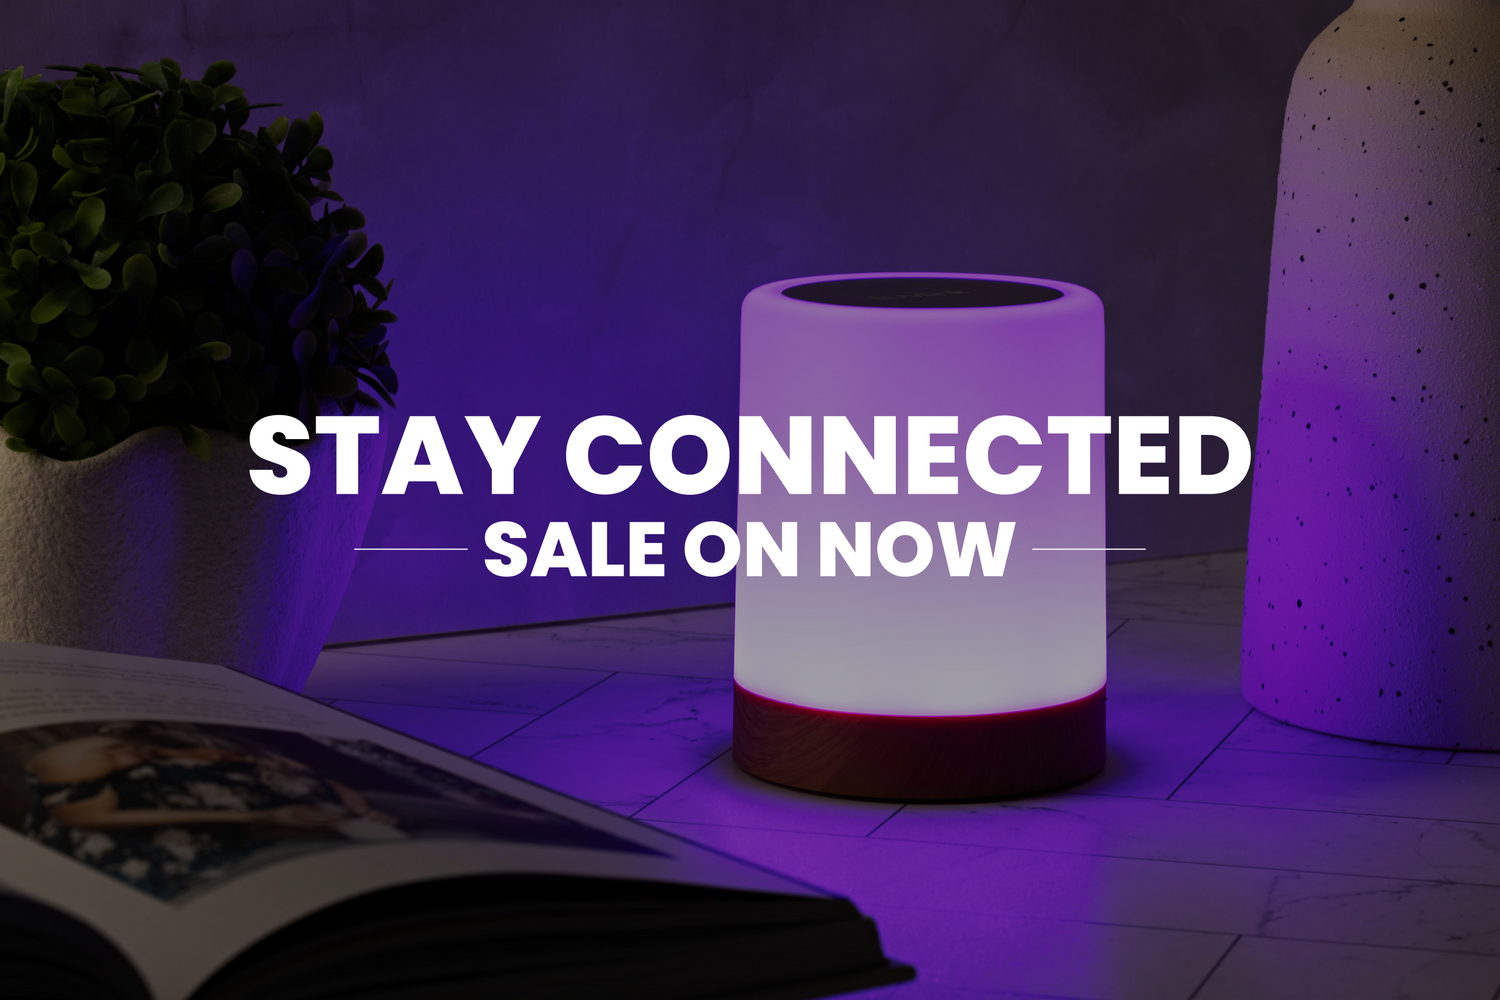
Link up with friends & family
The LuvLink® app keeps you connected with people you love

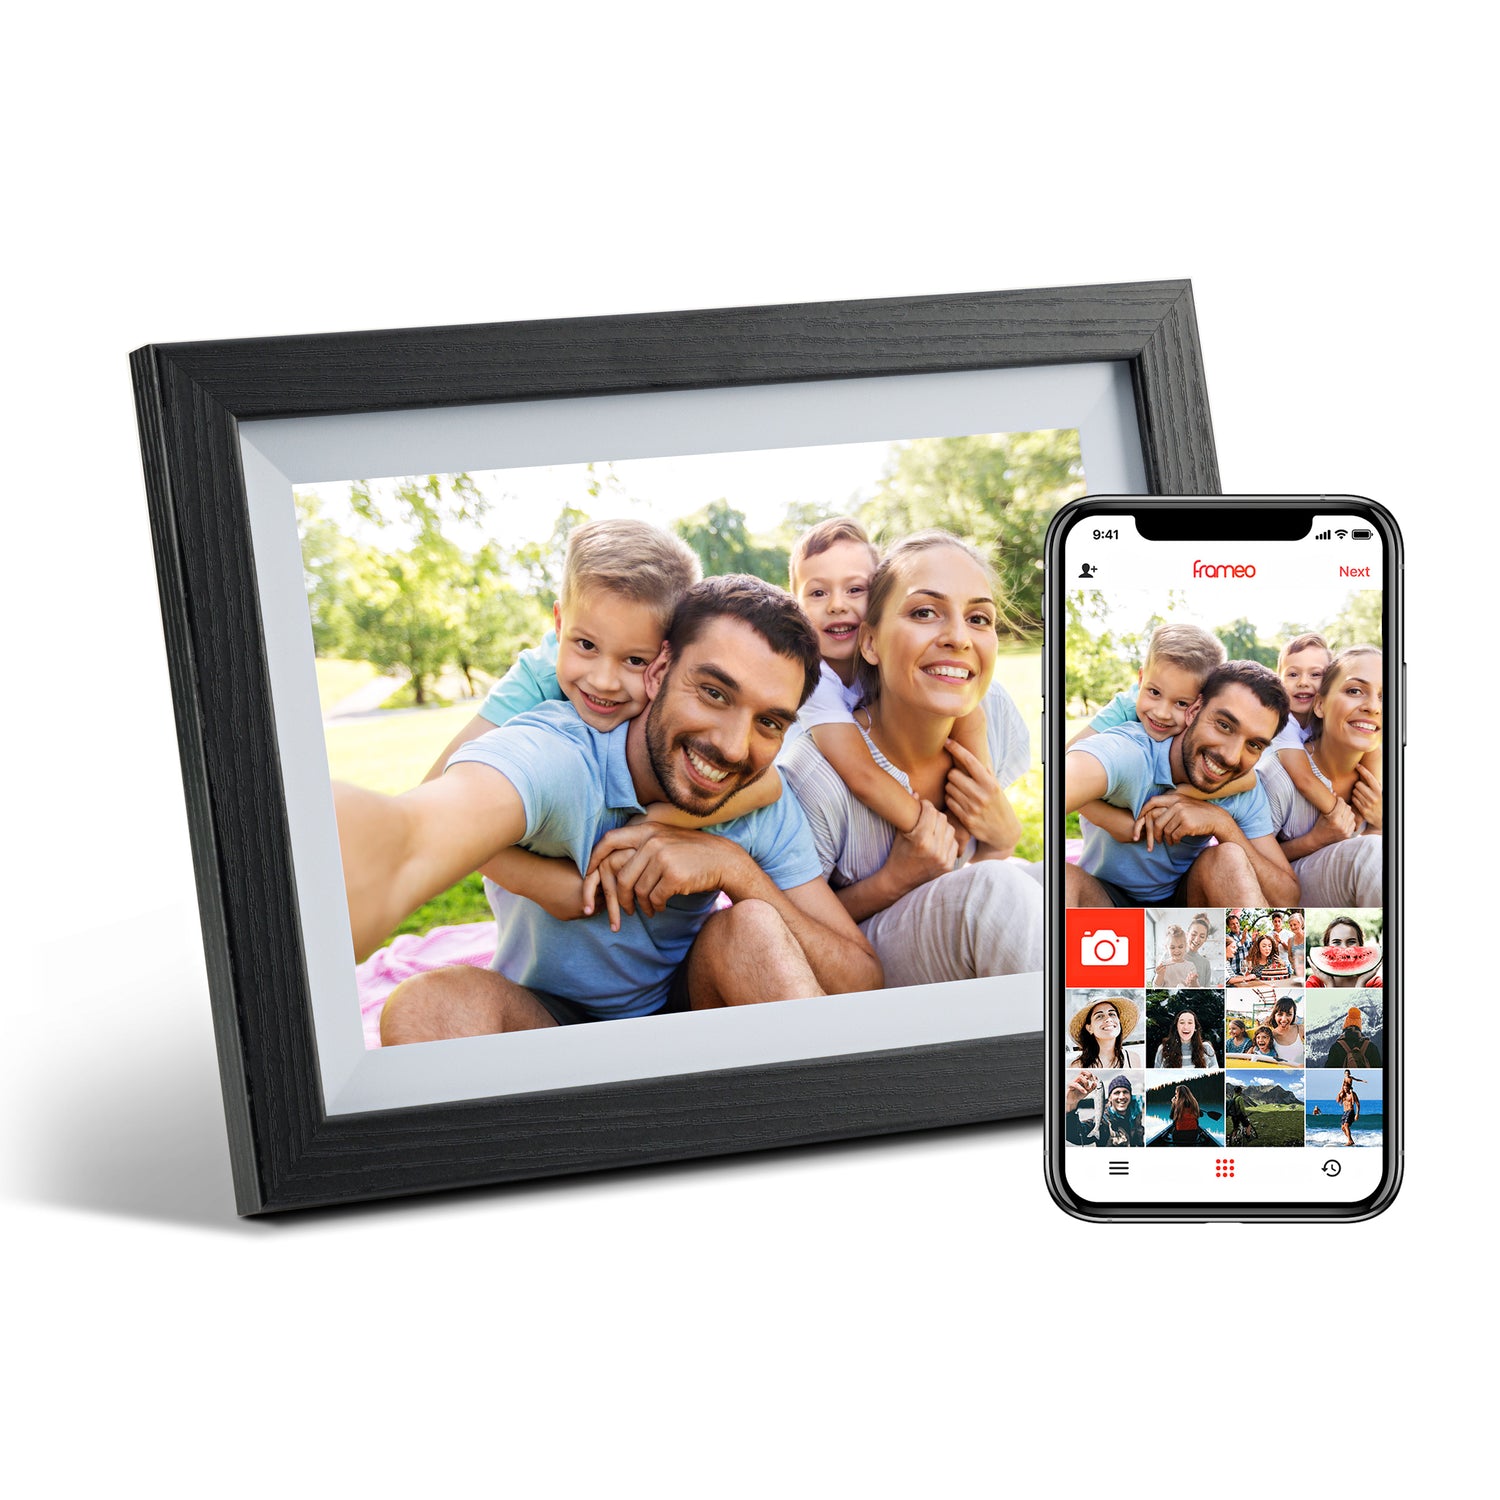
Send from anywhere

Create secret codes


Give the gift of connection with Friendship Lamps!
30-DAY MONEY BACK GUARANTEE • 12-MONTH WARRANTY


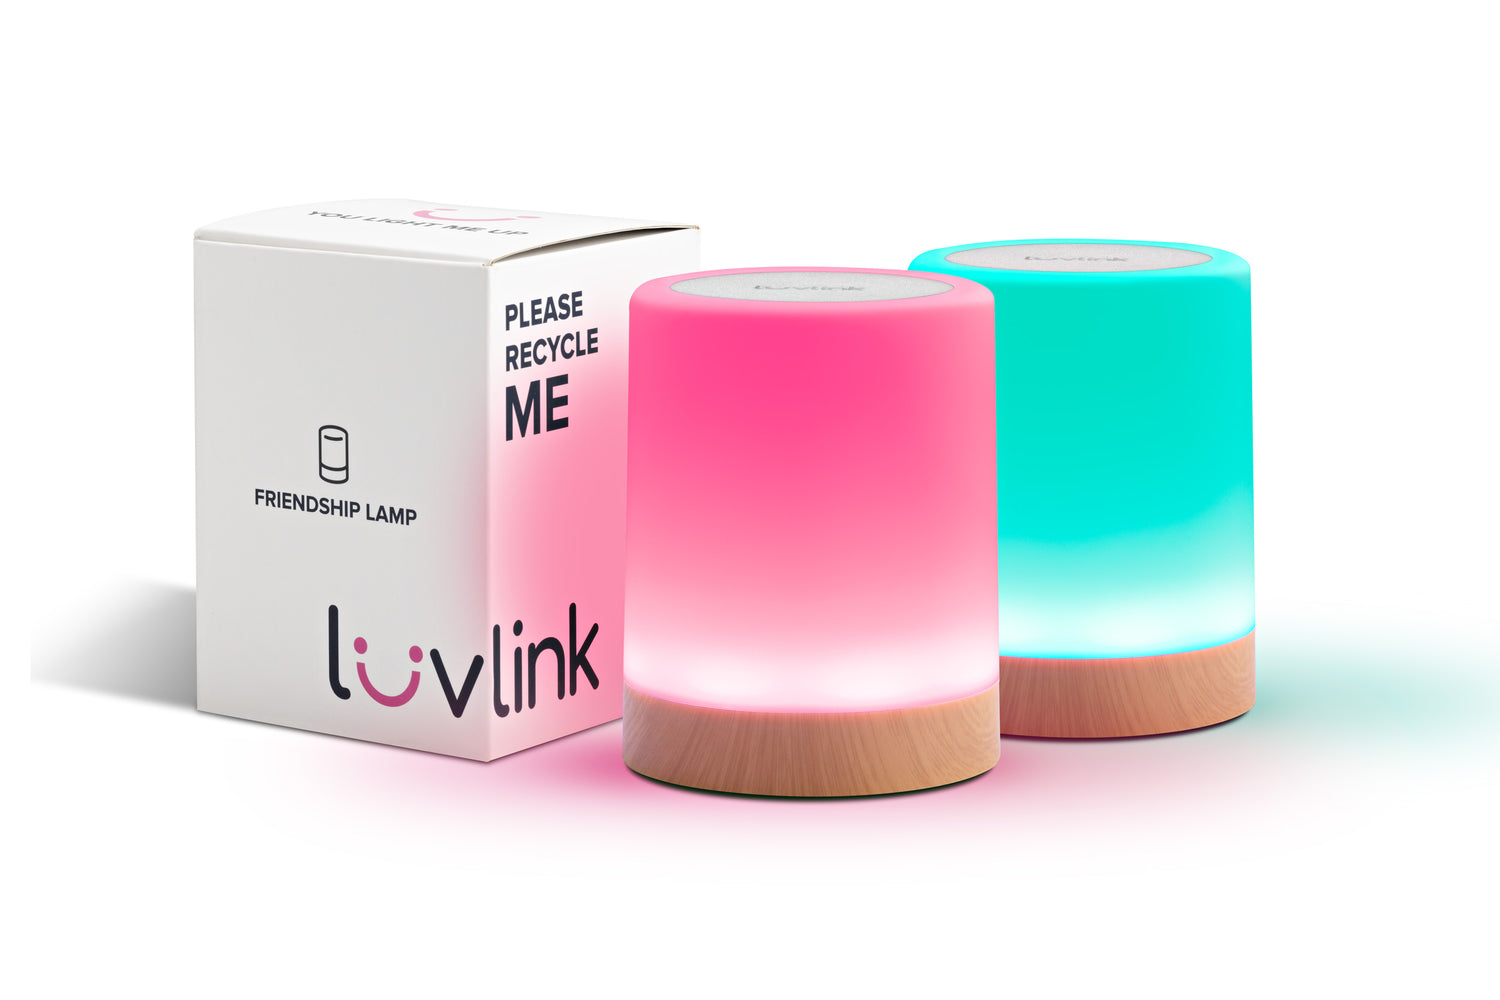
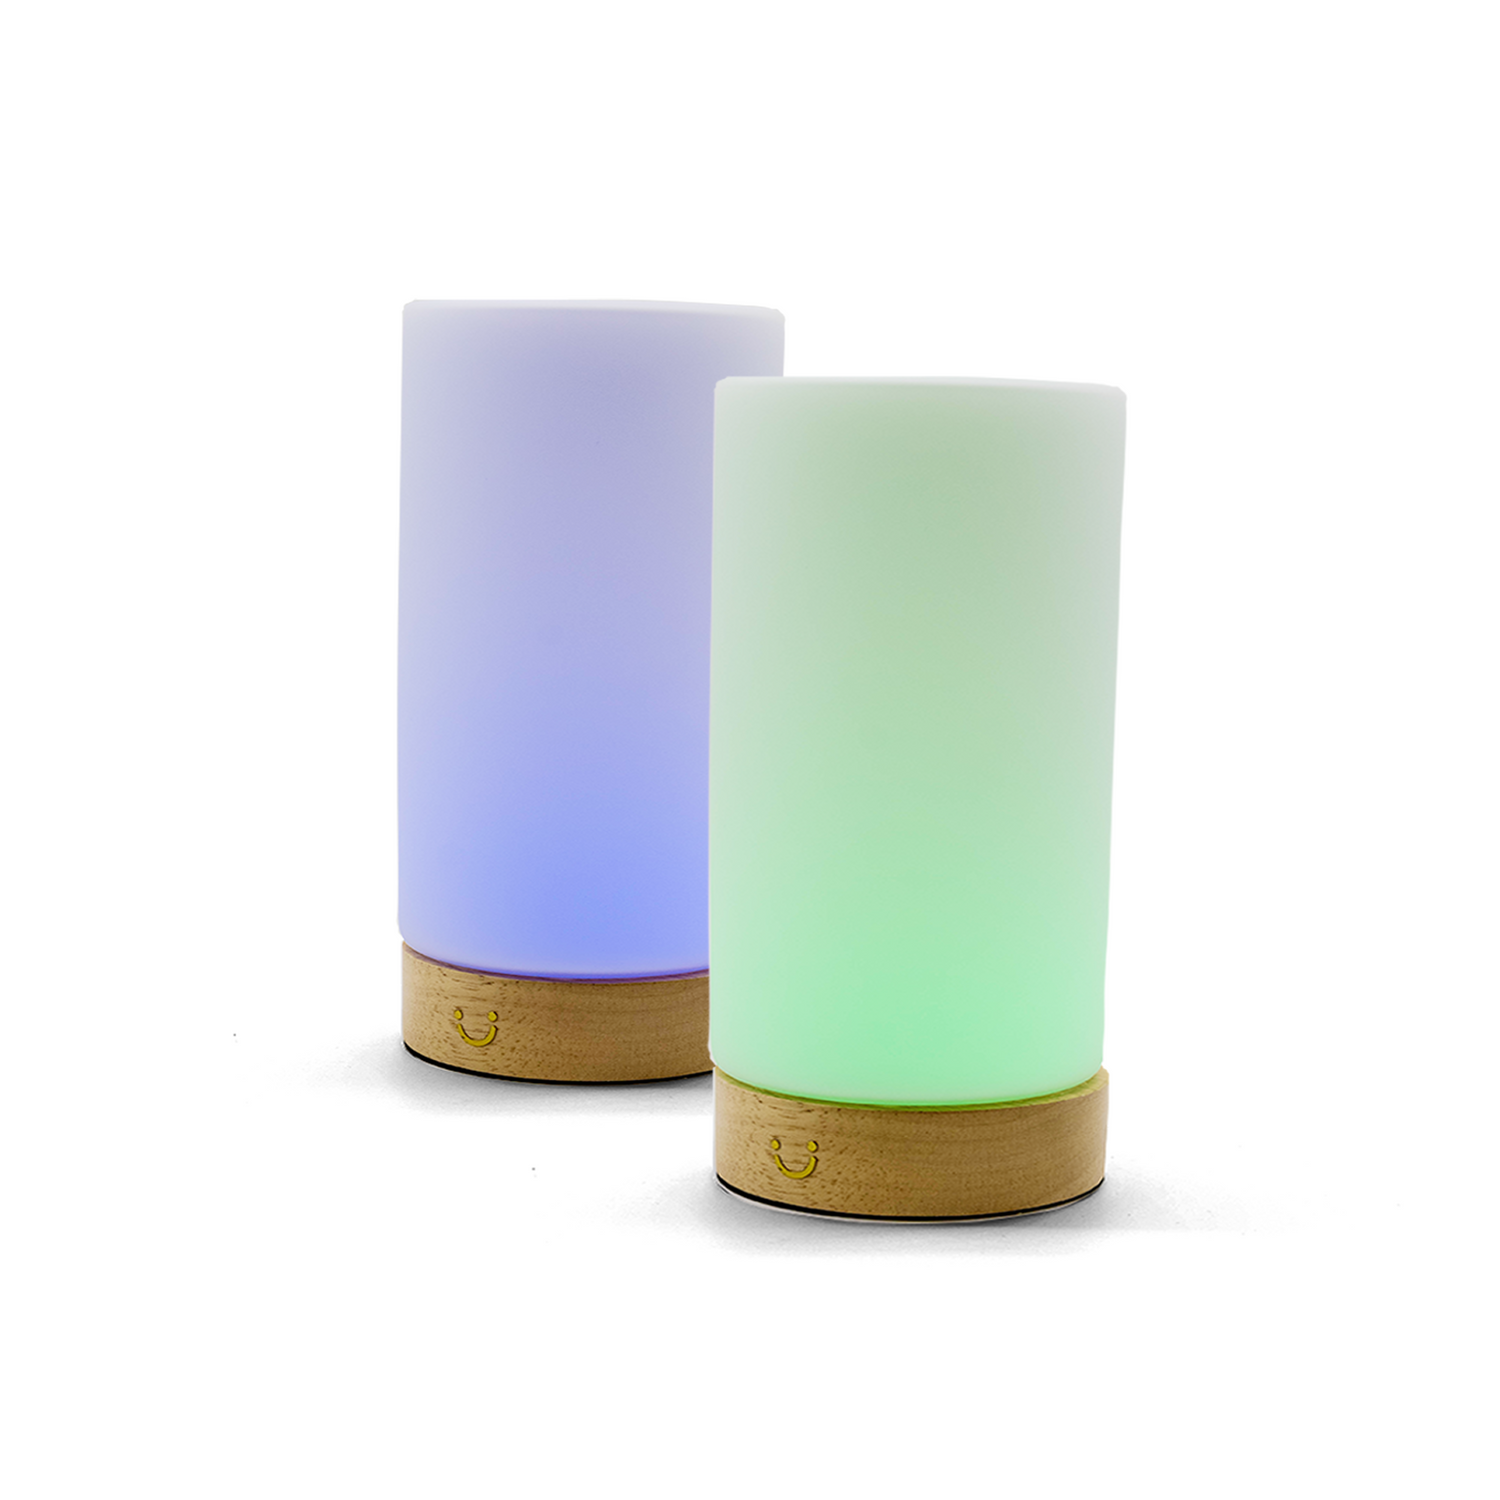
A Friendship Lamp is a wifi connected lamp that allows you to connect with friends and family no matter where you are!
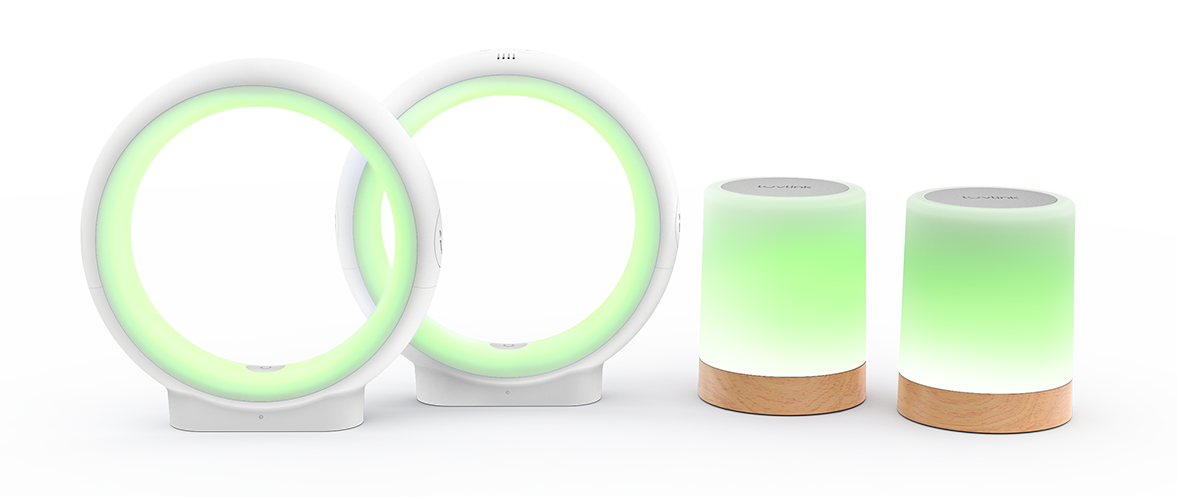
Once the Friendship Lamp is connected, you can send colors, secret codes (and with Infinity Voice even sounds) to your loved ones no matter where they are!
LuvLink Friendship Lamps are proud to connect hundreds and thousands of loved ones from right around the world!
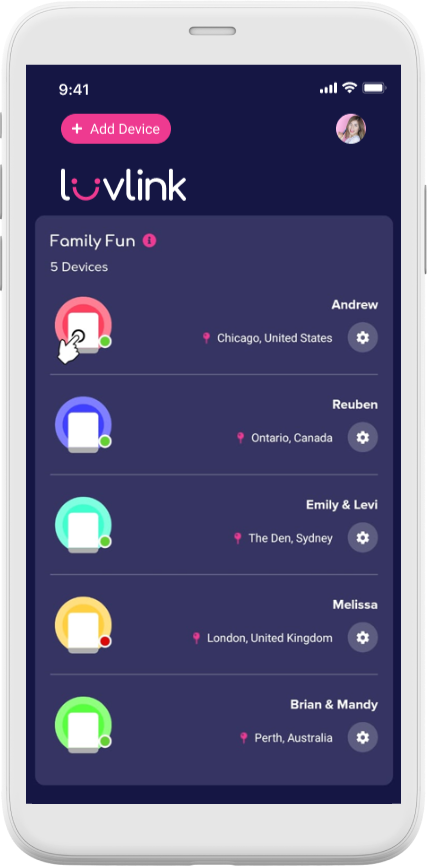
The LuvLink® app keeps you connected with people you love
Stay close no matter the distance with LuvLink Friendship Lamps!


Don't believe us? Look what our customers are saying!
Need more help? Visit our Help Centre or Contact Us!
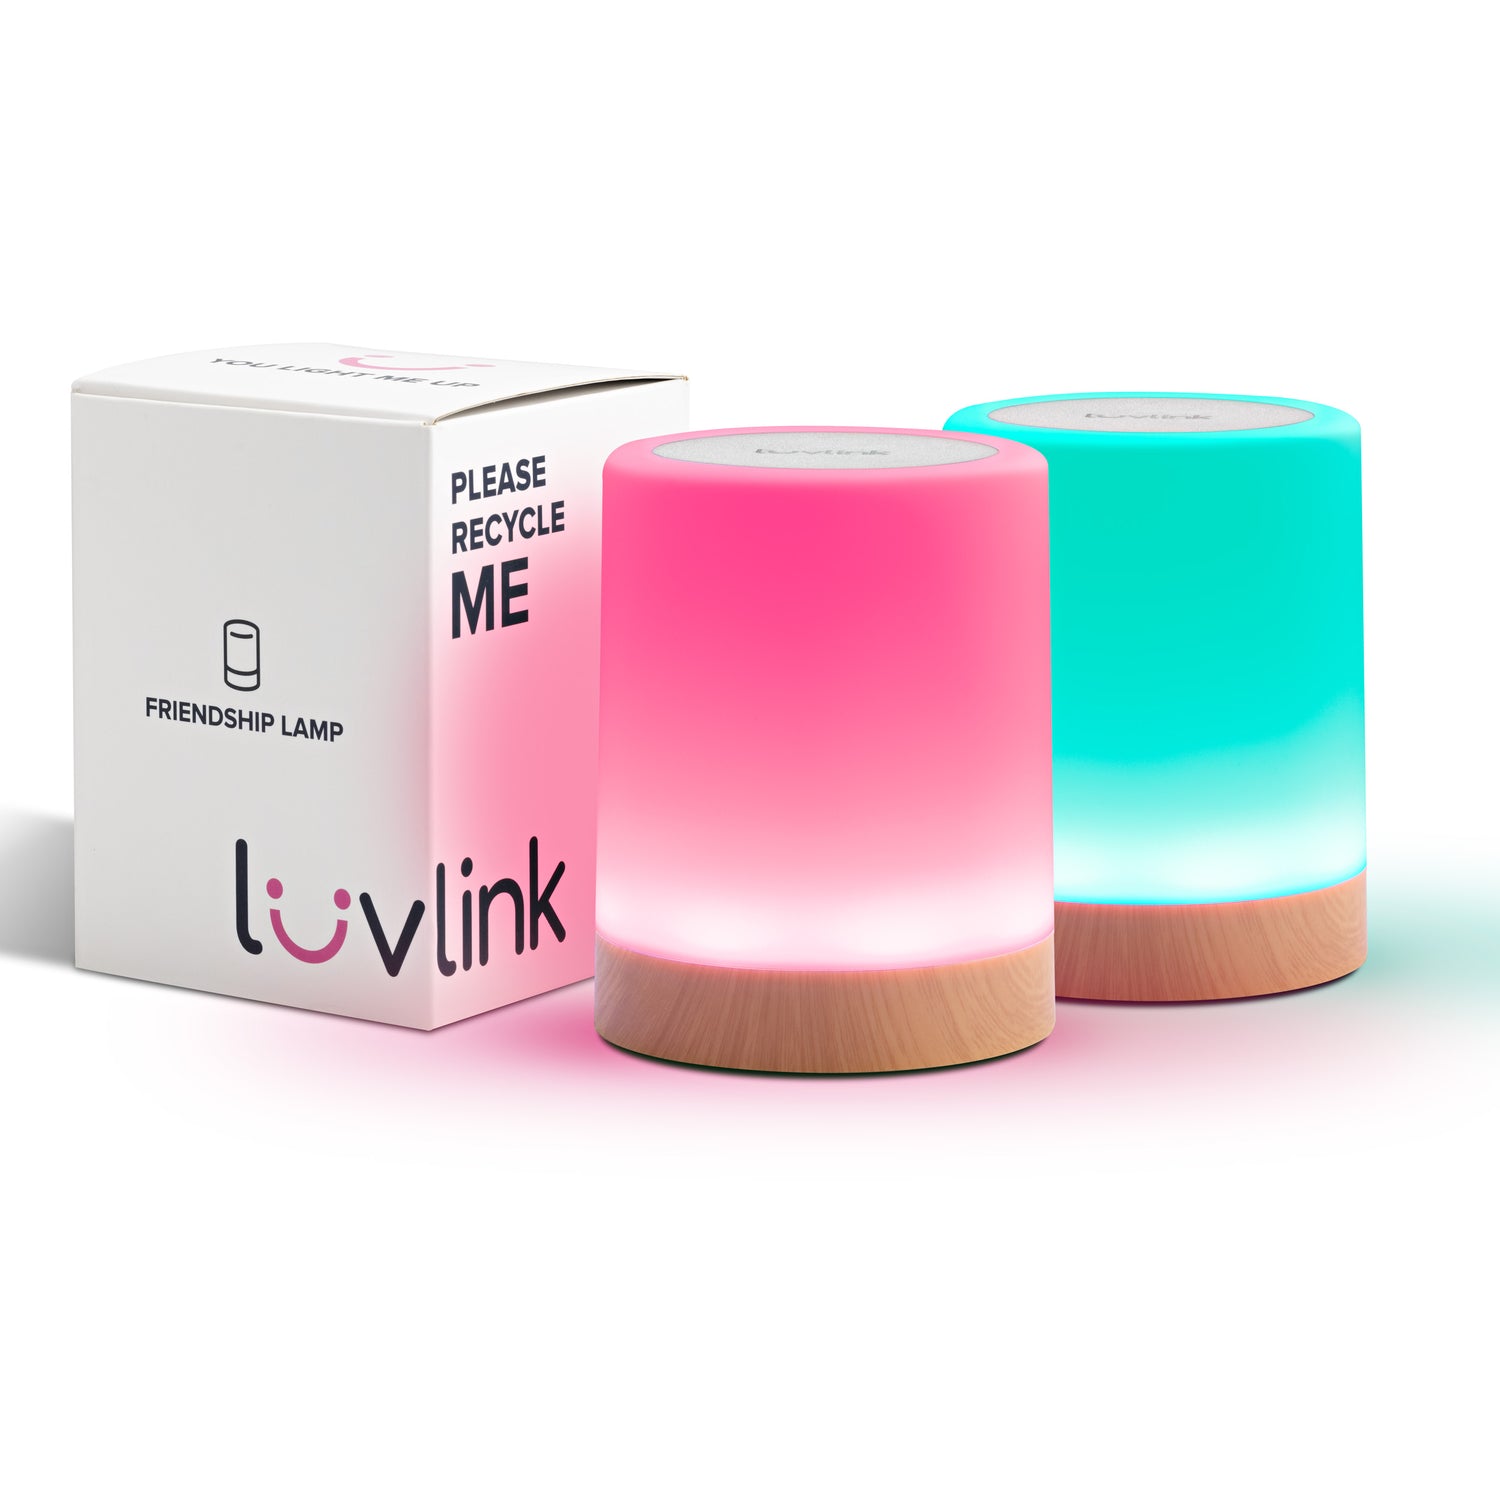
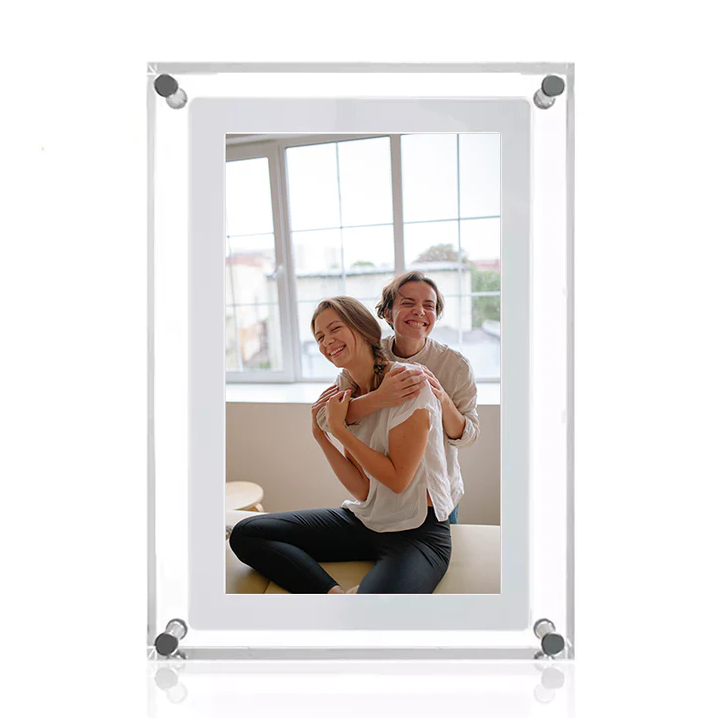
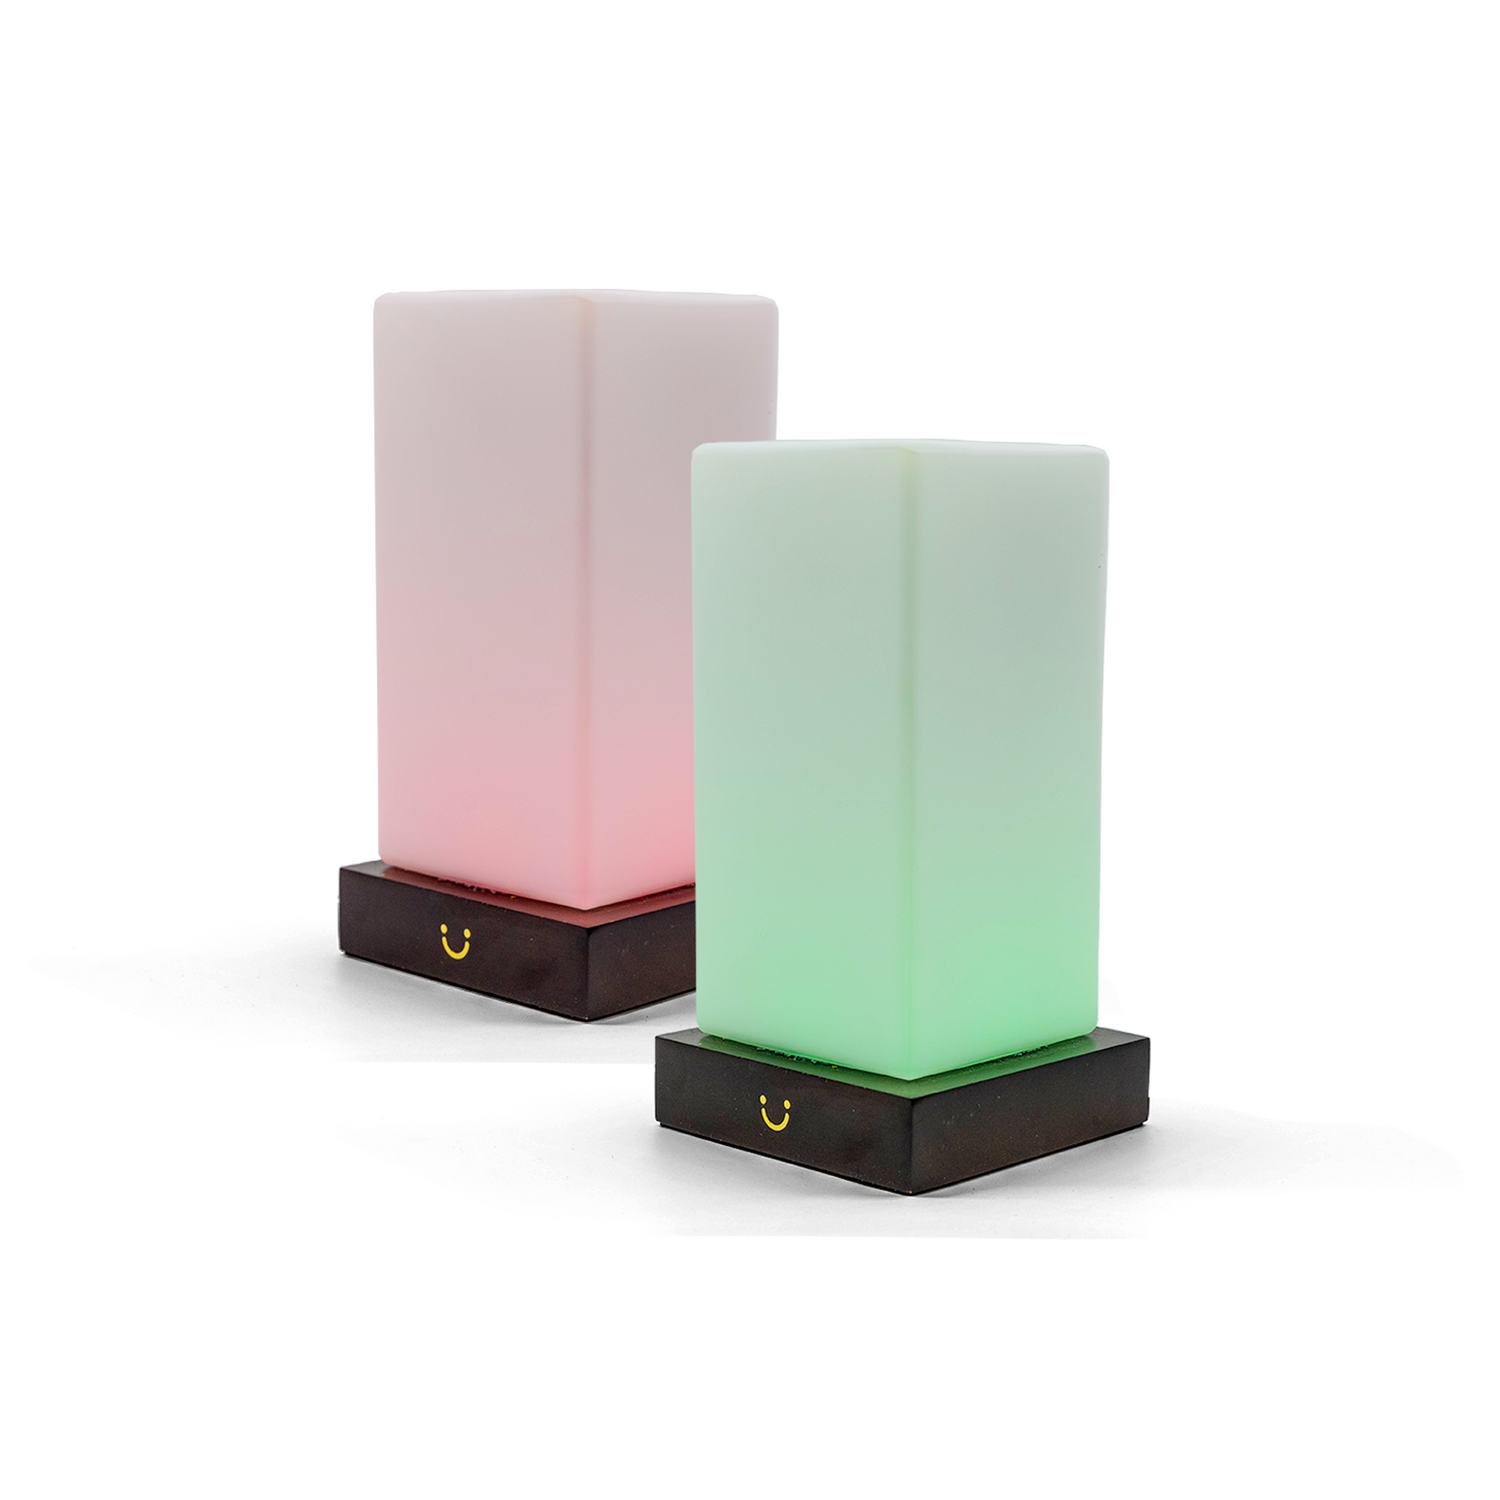
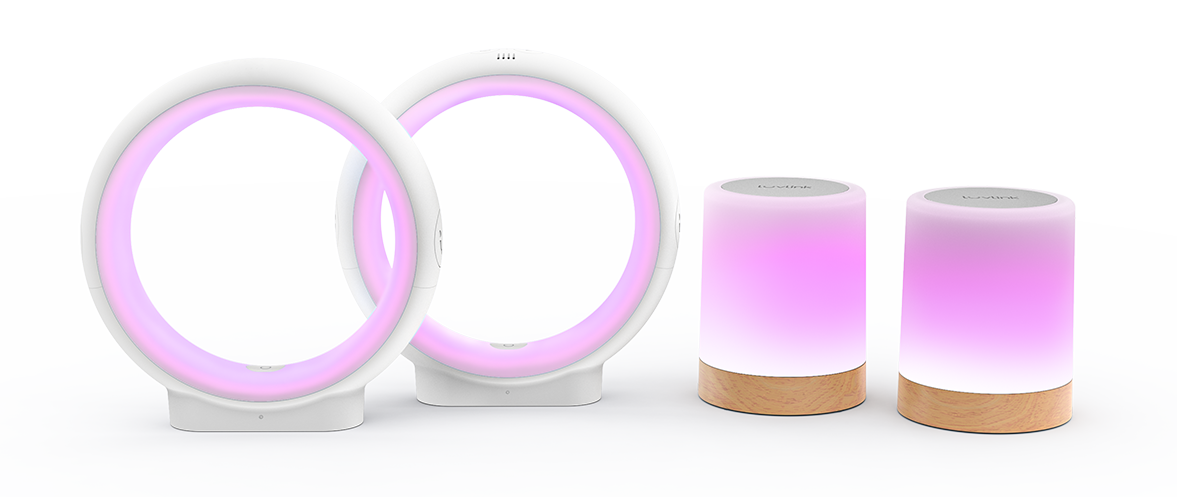
Friendship Lamps are long-distance wifi touch lamps that let you stay emotionally connected with someone you care about—no matter where they are in the world. When you tap your Friendship Lamp, their lamp lights up in a beautiful color, letting them know you're thinking of them.
Each LuvLink Friendship Lamp connects to Wi-Fi and pairs with other lamps via the LuvLink® App. Once connected, a simple tap on one lamp instantly lights up the other, no matter the distance. It’s the perfect way to send a gentle “I’m thinking of you” without needing a phone call or message.
Yes! LuvLink® Friendship Lamps work globally, as long as both lamps are connected to Wi-Fi. Whether you're in Sydney and your loved one is in New York, the connection works instantly and seamlessly.
You can connect an unlimited number of Friendship Lamps to a group. This means whole families, couples, or best friends can stay connected from multiple locations around the world—every tap lights up everyone in the group. You can also connect your lamp to two different groups if you wish to keep your groups separate.
Absolutely! You just plug them in, connect to Wi-Fi via the free LuvLink App, and pair them using a unique Group ID. Most people are up and running in just a few minutes. No subscriptions or hidden fees—just simple, instant connection.
LuvLink is the leading brand for Friendship Lamps, with over 2,500 verified 5-star reviews from happy customers around the world.
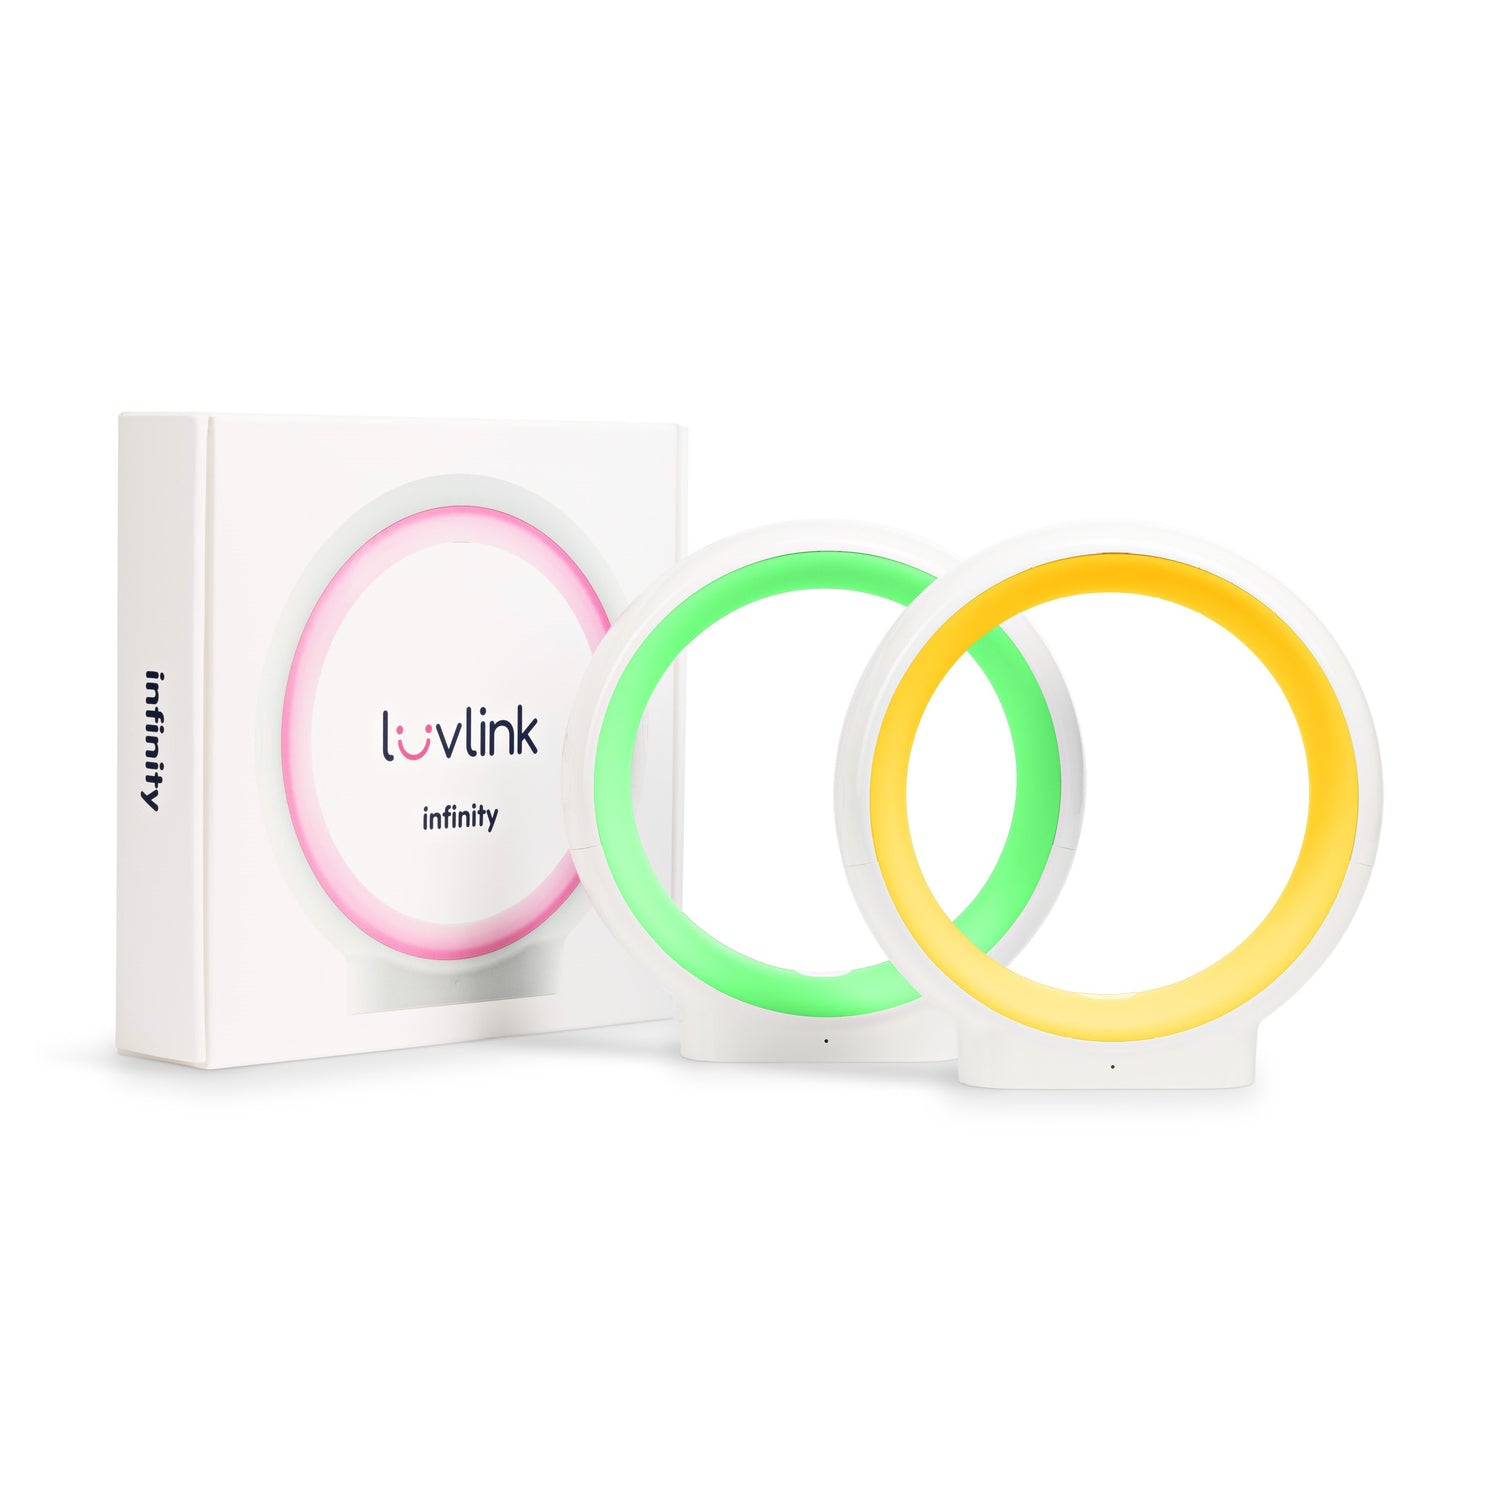
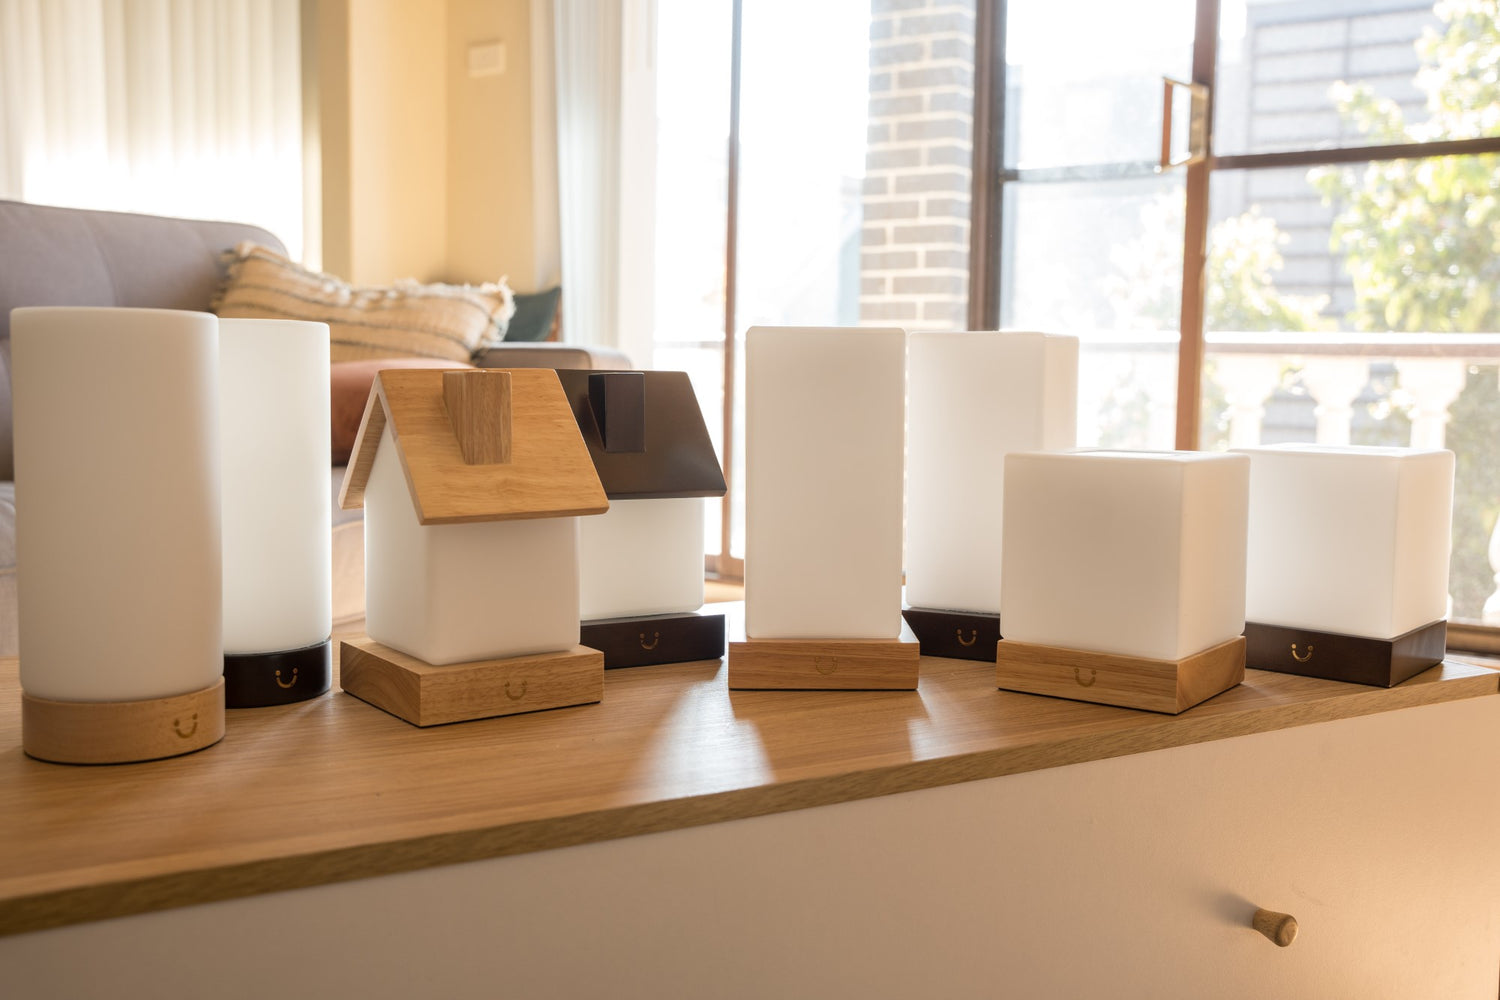
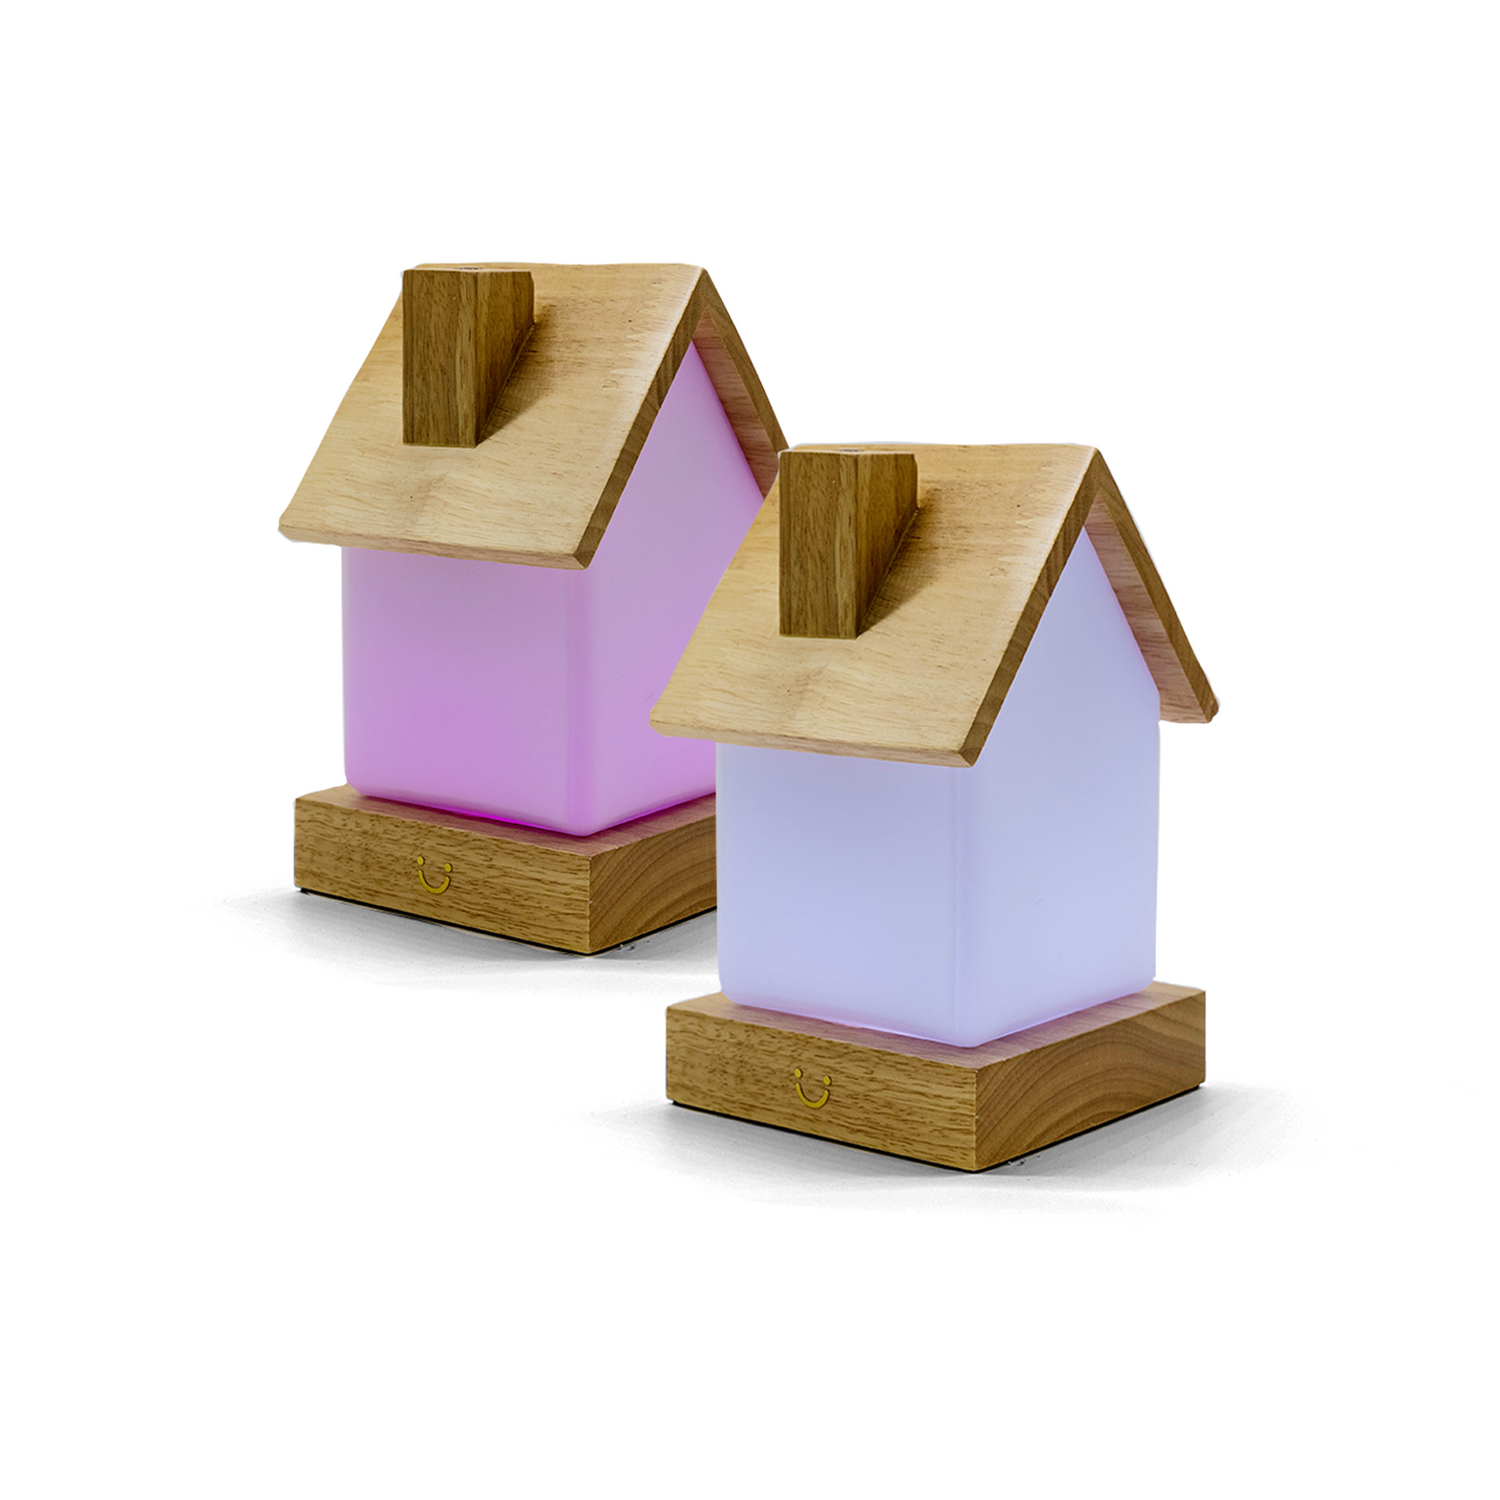
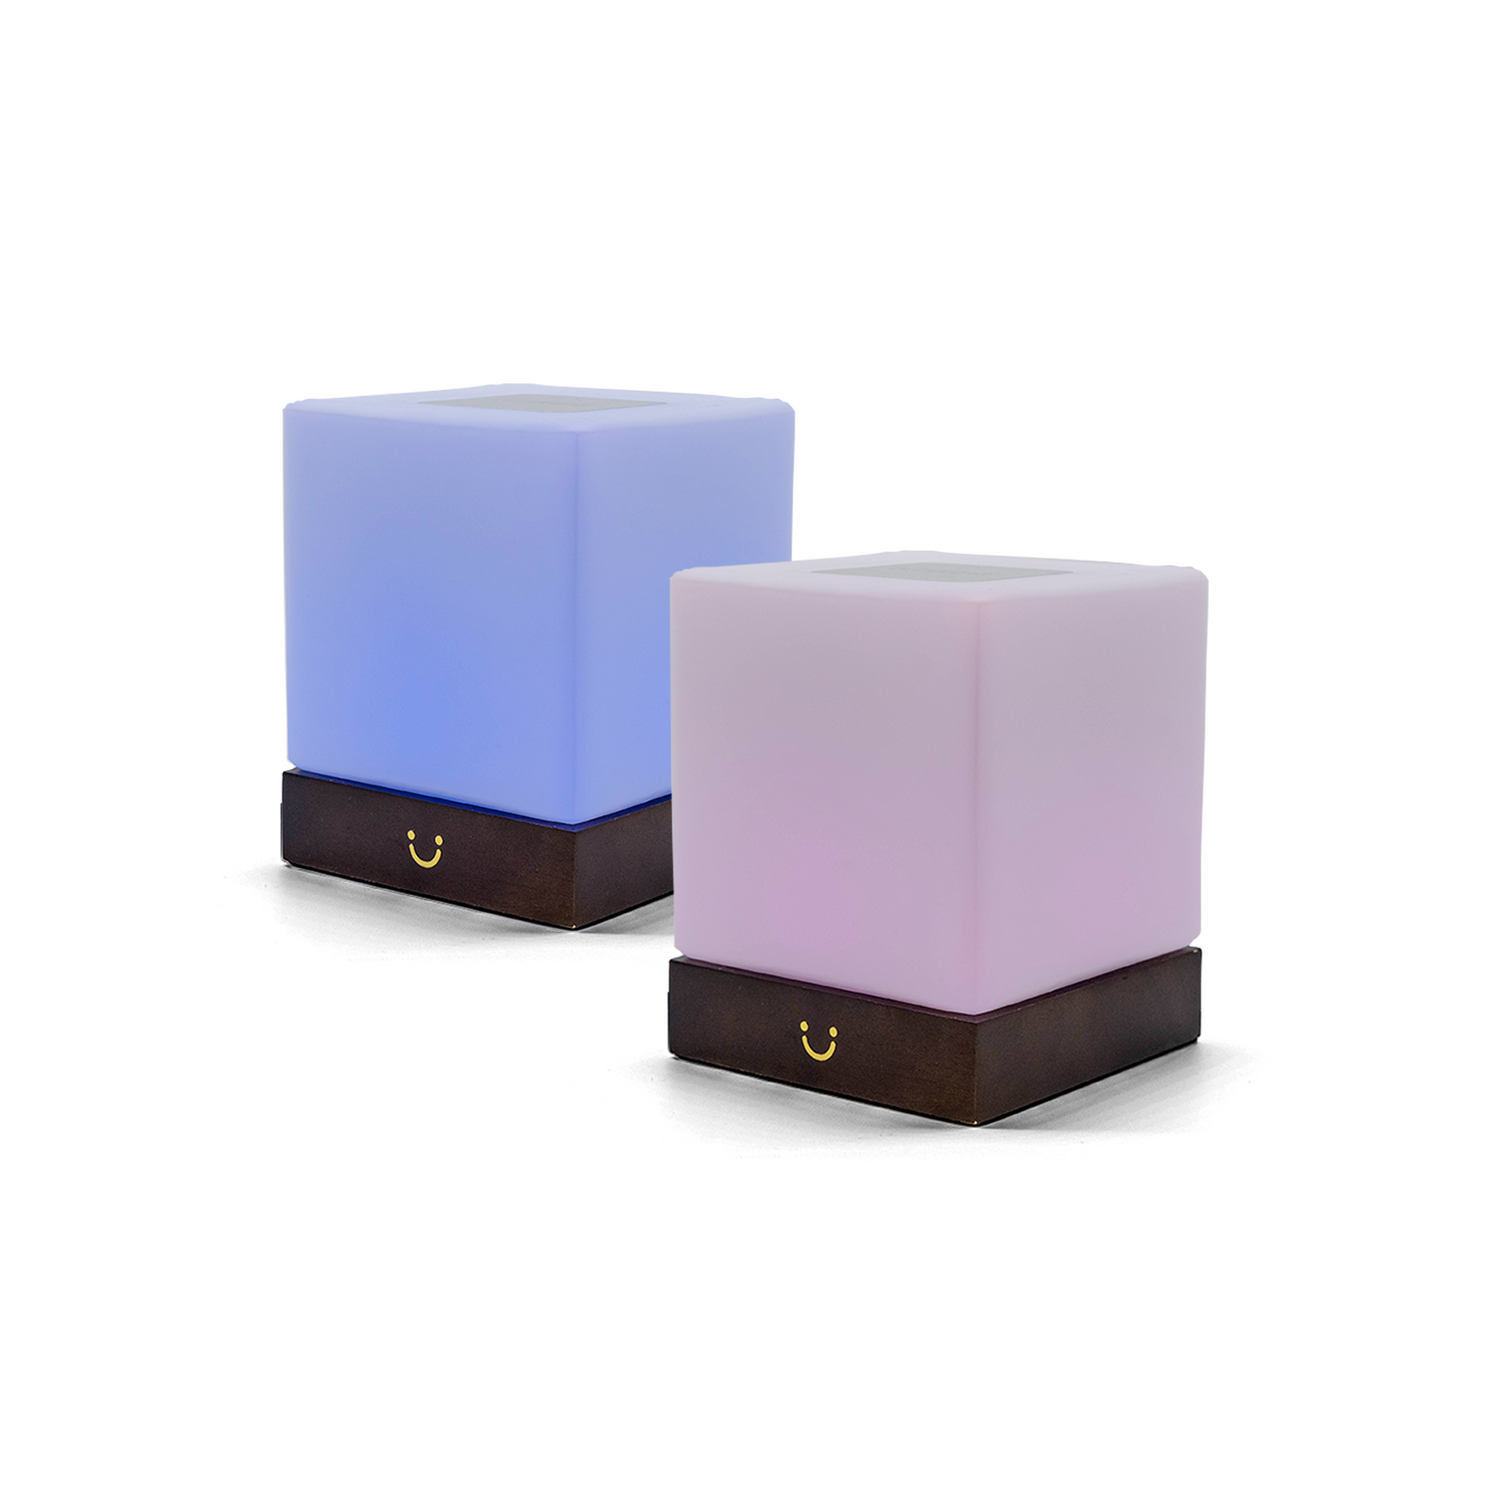
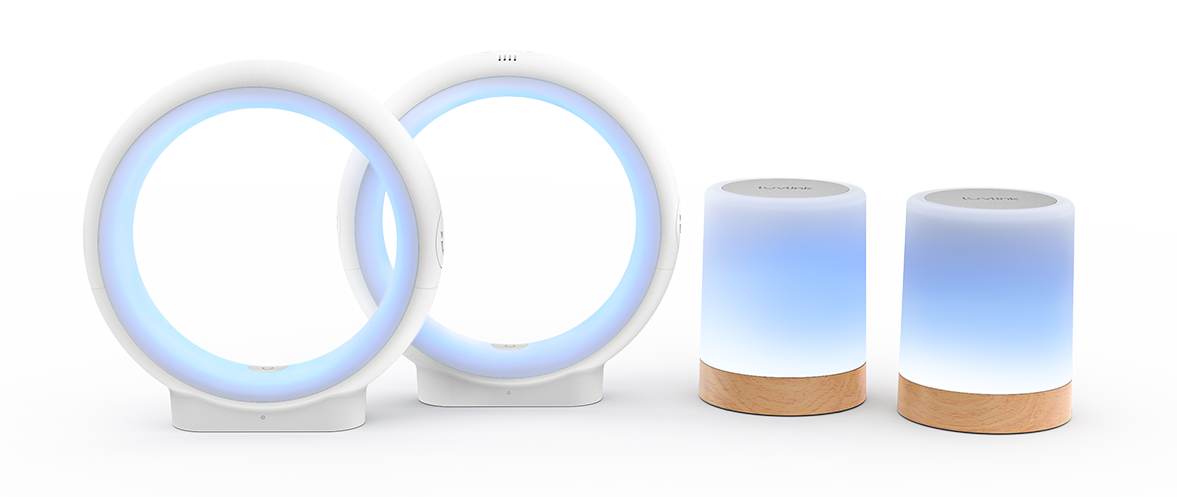
We offer a growing range of beautiful designs — including the Award-Winning Infinity Lamp, our sleek Modern Range, and the heartfelt Heart Pulse Lamp — so there’s something for every style and relationship.
All our lamps are built for reliability, long-distance connection, and ease of use, with no subscriptions or ongoing fees ever.
Plus, we offer fast & free shipping, a 12-month warranty, and exceptional customer support. With LuvLink, you’re not just buying a lamp — you’re investing in a meaningful way to stay connected!
Friendship Lamps are designed for anyone who wants to stay emotionally connected across the distance. They’re perfect for long-distance couples, families spread across cities or countries, grandparents and grandkids, best friends, college students, military families, FIFO workers, and more. Whether you’re separated by oceans or just living apart, a simple touch is all it takes to say “I’m thinking of you.”
With a variety of styles — including our Infinity Lamp, Modern Range, and Heart Pulse Lamp — there’s a LuvLink Friendship Lamp for every relationship and every home.
There is no limit on distance. As long as each Friendship Lamp is connected to Wi-Fi, they will work whether you're in the same city or across the globe. Many families use them across Australia, the US, Europe, and beyond.
Yes, the LuvLink App is completely free, with no subscriptions or ongoing fees. It includes everything you need to set up, control, and customise your lamp.
#luvlink #friendshiplamps